How to work with layer masks in Gimp 2.8.14
- Aug 31, 2014
- 2 min read
Gimp Tutorial
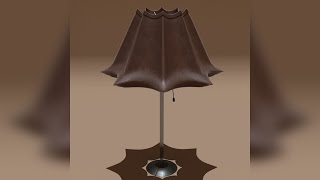
Hi everyone, in this tutorial I talk about layer masks. Layer masks are a non-destructive way to erase things/ blend things together inside of Gimp. Layer masks can be confusing at times, but they are pretty simple to use. I work work a few layers in this tutorial and I go through a few ways on how to use them. I use layers mask most of the time when I am working in gimp and there is something I need to hide or remove. I don't use the eraser tool that much. The reason for that is , when you erase something inside of Gimp it is basically gone forever. I mean you can press Ctrl + z to go back. But what if you have a big project? If you do to many things in Gimp you will no longer be able to go back. So the solution is to use layer masks. You can just add a layer mask to a layer erase or blend what is needed. If you don't like what you did, you can always go back and unhide what you previously did. Or you can even go back and hide more if needed. There are a couple of tutorials that I have made that use the layer mask for a few complex things. Those tutorials were in my earlier tutorials. ( Back when I had a poor screen recording software) and a couple of them my cursor was not recorded. I plan on going back and remaking them when I get the time to. But they are pretty hard to follow if you are new to Gimp. I do apologize for that. I hope that you guys enjoy this tutorial.



Comments